Digistock – Pro 400H for Capture One
Digistock – Pro 400H for Capture One
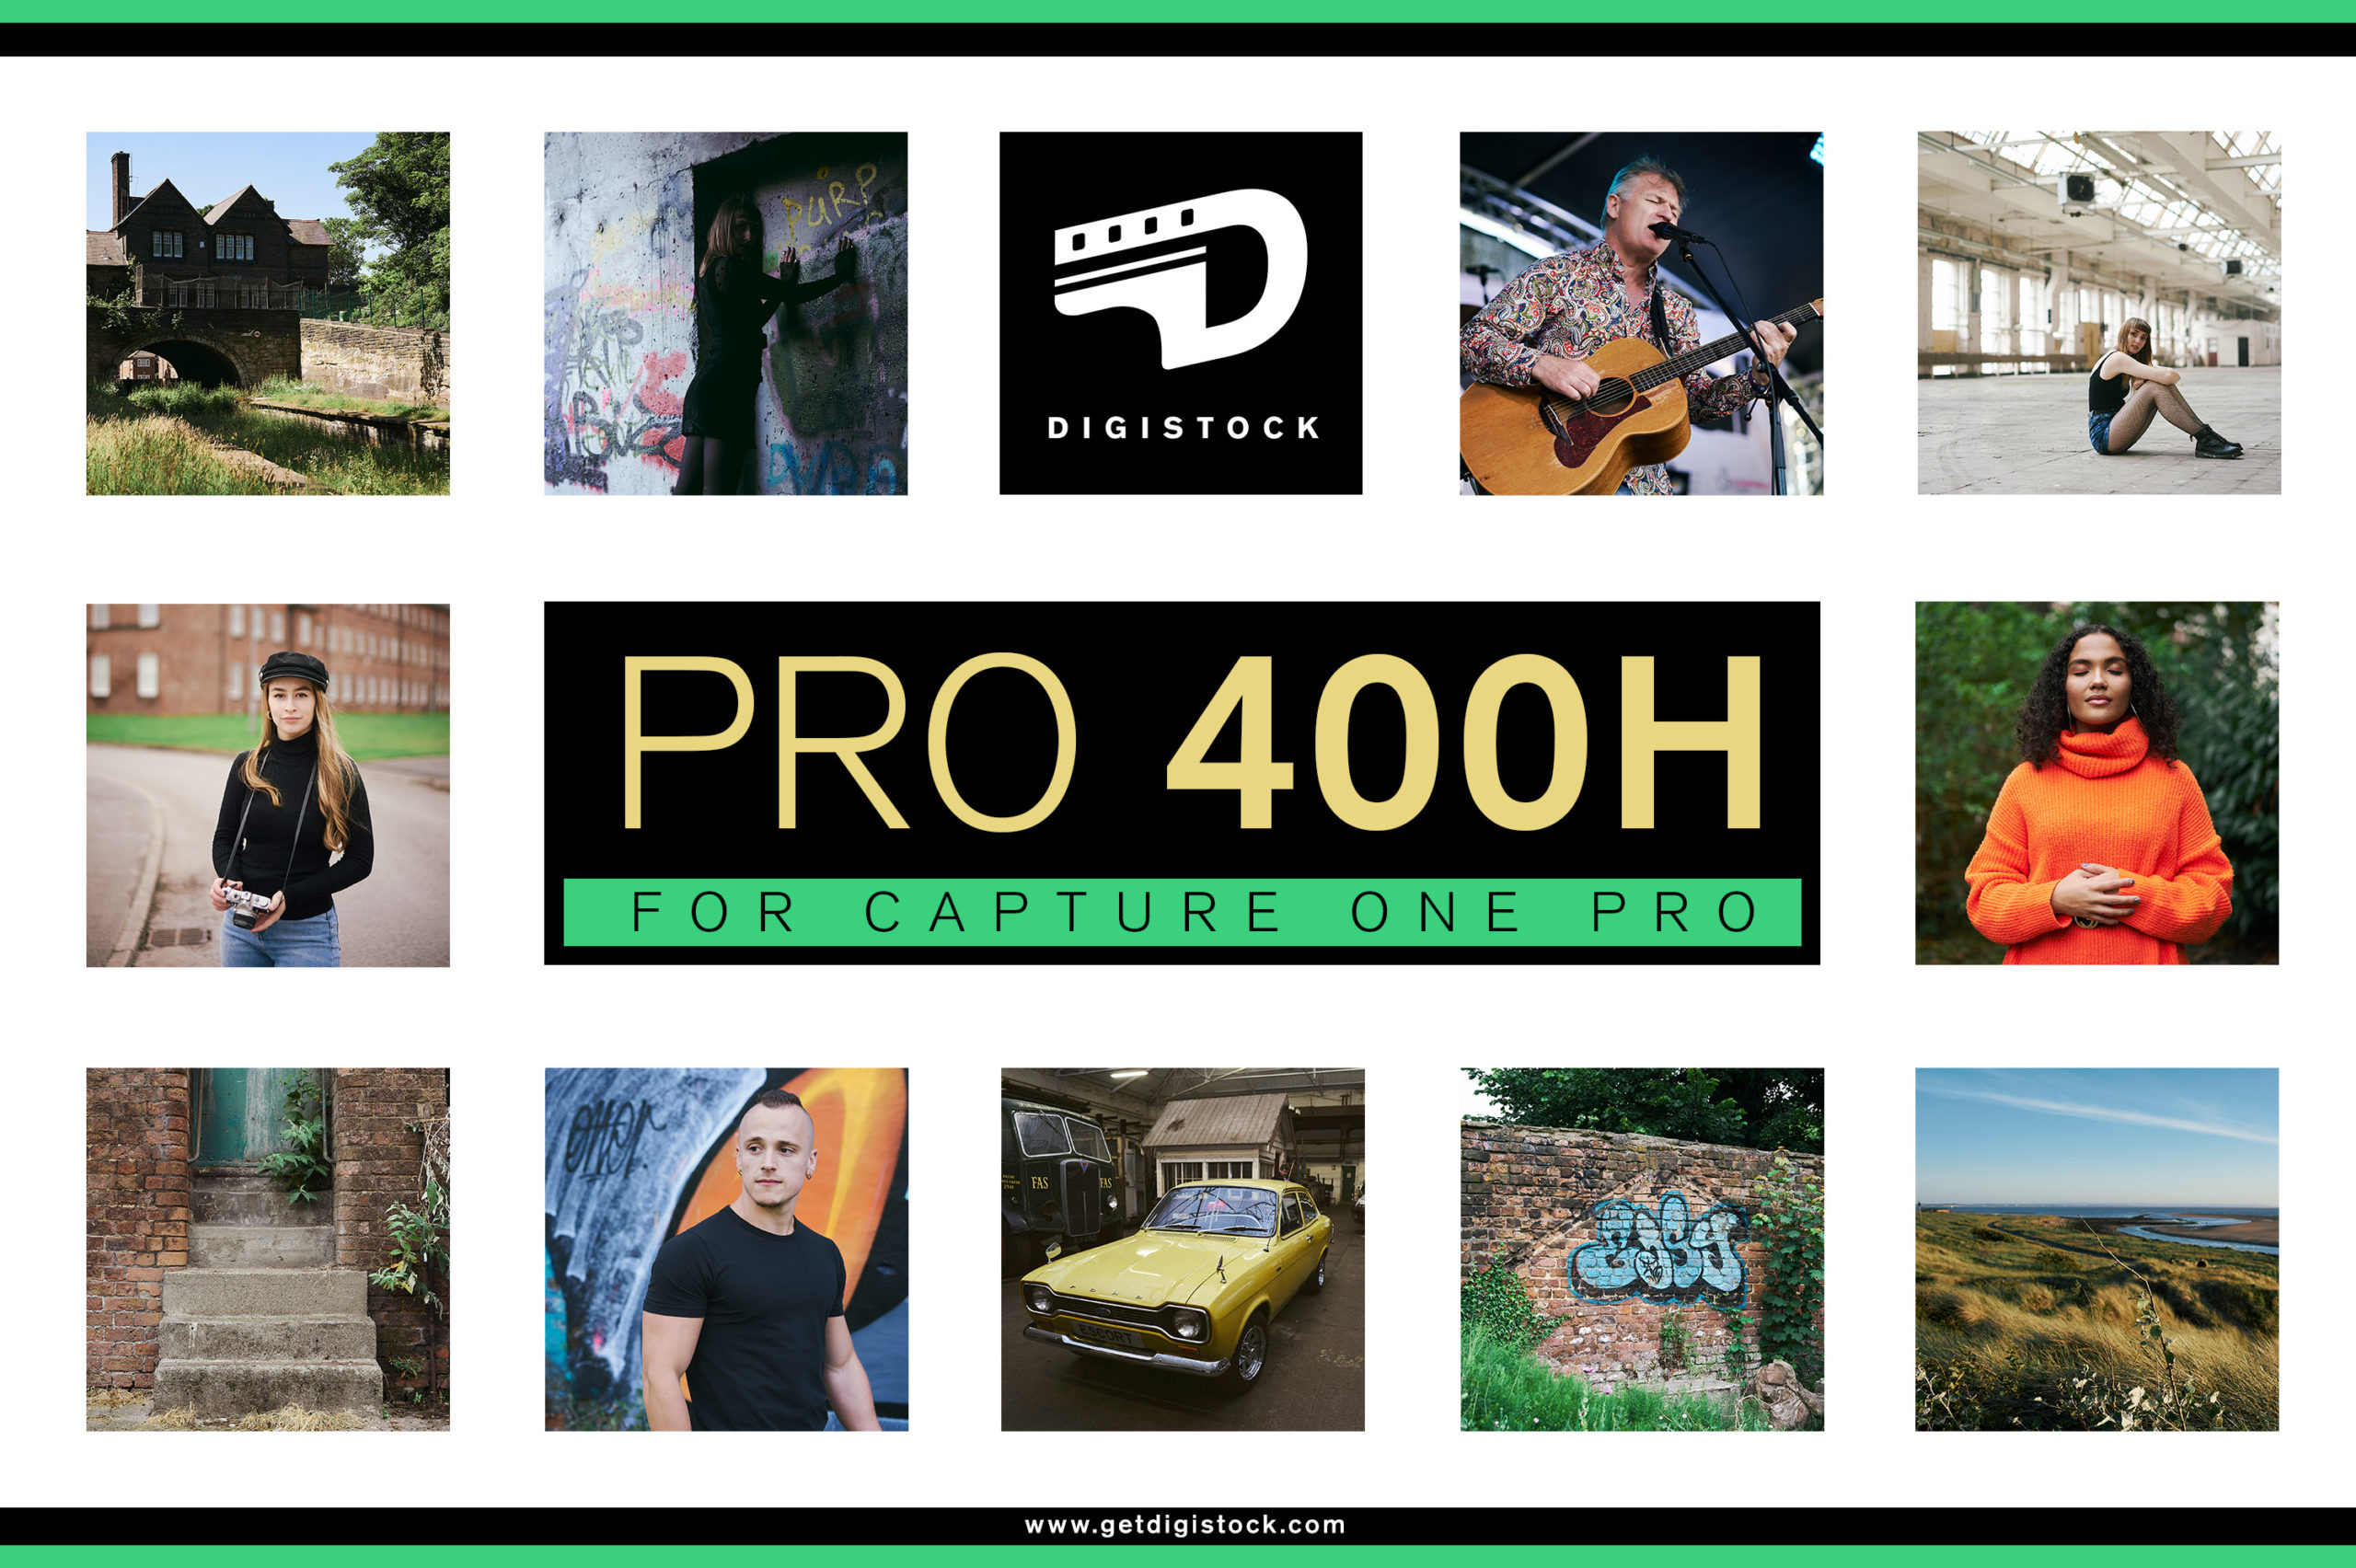
Advanced Film Emulation for Capture One
Fuji Pro 400H is one of the most beloved modern negative films, with a timeless, balanced look that flatters almost any subject. It’s a little cooler-toned than its Kodak competitor, and wedding and portrait photographers love to push it a stop or two for beautiful pastel colours and soft skintones.
We’ve built a versatile emulation package for Capture One Pro, doing our best to capture its beautiful subtle colours. As with all Digistock products these aren’t cheesy ‘film filters’ but a complete toolkit equally suited to both accurate emulation and general colour grading. With 18 variants in three versions (clean, 35mm and medium format) for a total of 54 unique styles, you can dial in the the look you want – whether it’s pushed, pulled or at box speed. Like the real thing, we’ve designed our film styles to be versatile for everyday use, with looks natural and subtle enough to work for any photo while staying true to the character of the film. It was a tricky balancing act to create, but we hope the results are worth it!
All our Capture One film styles are designed from the ground up to be compatible with the C1 layer system, so you’re not stuck with our idea of what looks good, either. You can tweak the opacity to blend looks and make them as bold or subtle as you like!
For analog junkies we’ve also included tools to get your photos looking as close to real film scans as possible. Every one of the 36 ‘analog‘ styles comes with custom film grain, as well as a realistic-looking reduction in acutance to emulate the lower resolution of film. There’s even my unique workflow to simulate halation effects, where the bright light sources hit the back of the negative and scatter causing a nice bloom effect.
Most preset makers don’t bother going to this level of detail, and we’re hitting the limits of what C1 can do (for example, if you’re a grain geek you’ll notice that C1’s grain engine, though lovely, is monochrome, which never looks quite right for colour films).
So there you have it – emulate the look of real scanned film, or use them to lightly sweeten and grade a digital image, it’s up to you.
If you have any questions feel free to contact us on Instagram, @getdigistock, or email [email protected].
WHAT’S INCLUDED
Your styles come in three folders, but each folder contains the same presets – the only difference between them is the grain/sharpness. It’s your choice whether you want a realistic analog vibe or some subtle toning.
A. CLEAN
No added grain, and uses your normal settings for sharpness and noise reduction.
B. MEDIUM FORMAT
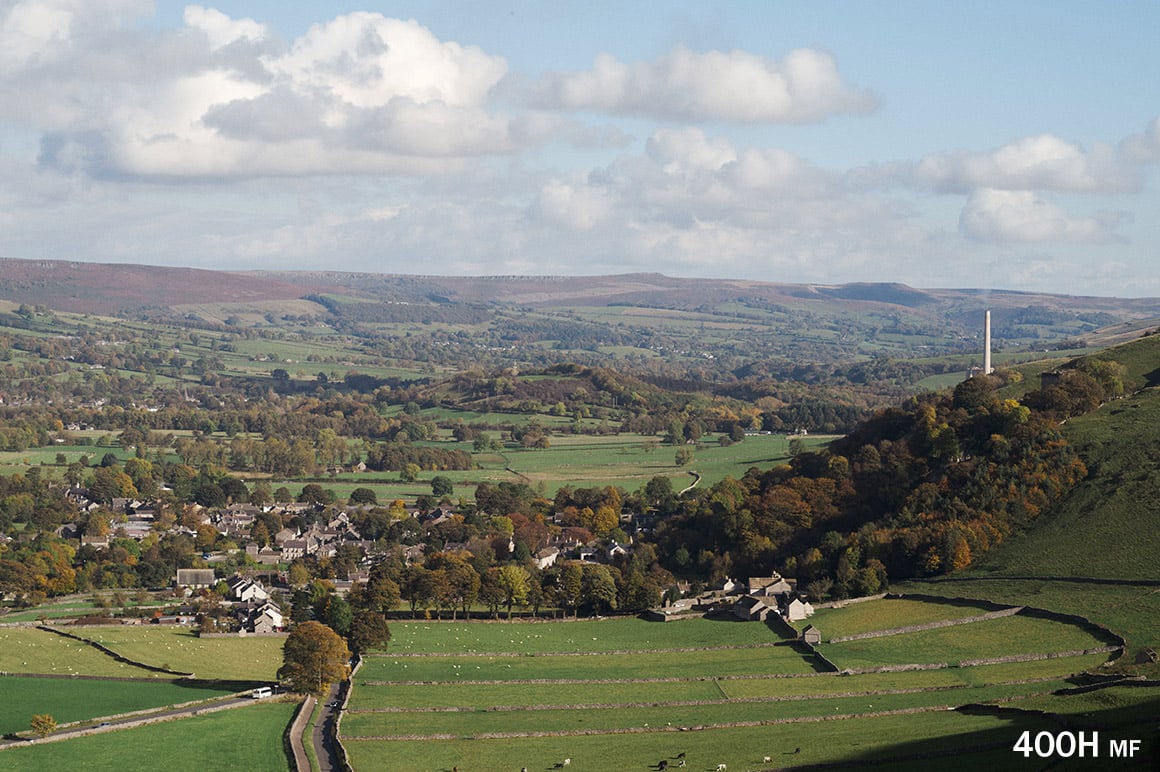
These versions emulate 120 film, with a fine grain and a slight softening of details. Try using this with different aspect ratios to get a typical ‘medium format’ look: 1:1 (6×6), 4:3 (6×4.5), 5:4 (6×7).
C: 35MM
These variants emulate 35mm film stock, with a fairly noticeable grain and softer details compared to medium format. Generally works great with 3:2 images.
STYLES
1. 400H (Box Speed)
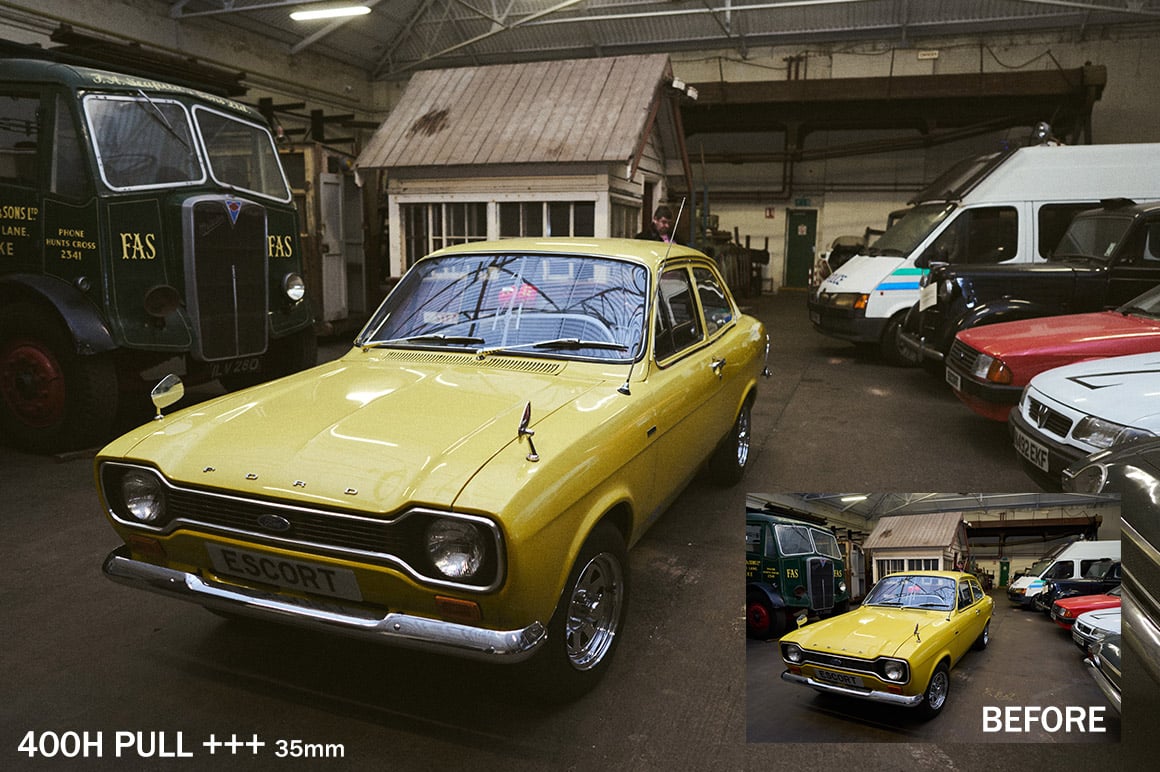
Your starting point for a typical 400H look. Greens take on nice cyan pastel tones, warm colours and skintones are slightly subdued, blues very subtly shift and images tend to veer towards cool/pink tonality overall. The stronger variations reduce dynamic range in the blacks and give a more faded, tinted look.
1A. 400H Balanced starting point; good for most subjects
1B. 400H + A little warmer and more contrasty, blacks slightly lifted
1C. 400H ++ Softer and more ‘faded’, a little less saturated. Green cast in shadows
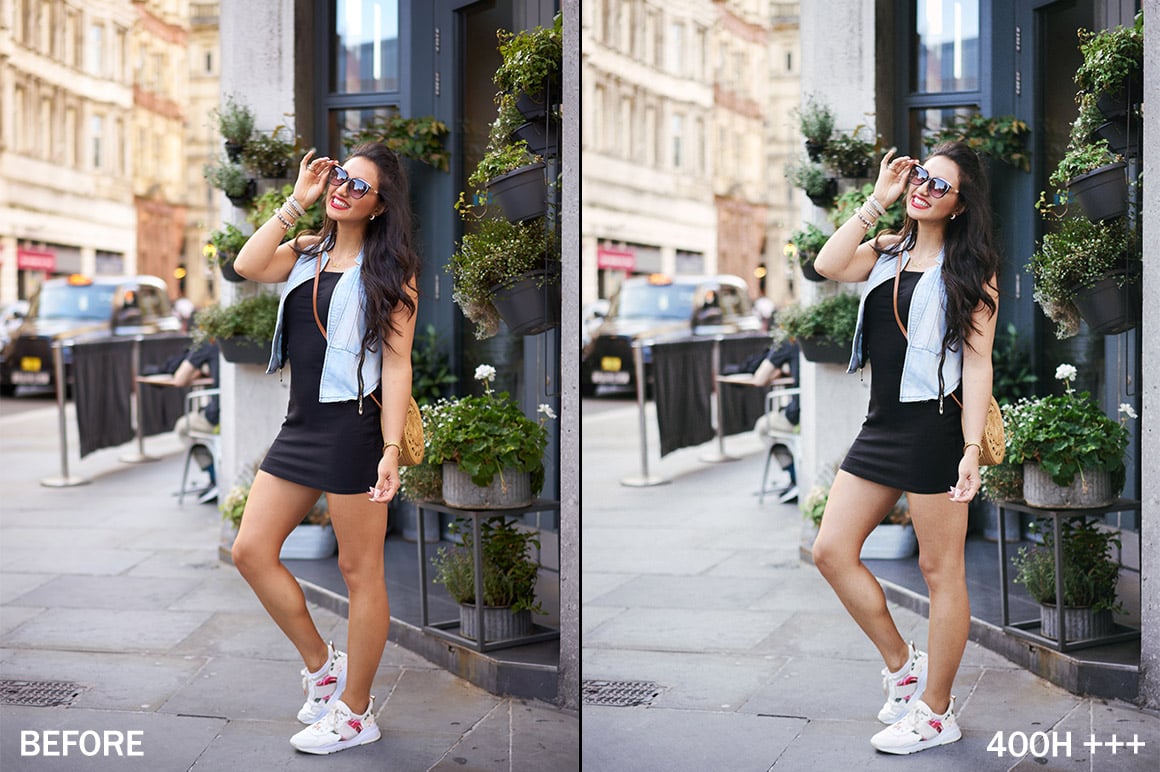
1D. 400H +++ Heavy fade with strong colour cyan cast in shadows, pale skintones
1E. 400H – Less colour shift, a touch warmer
2. 400H PUSHED
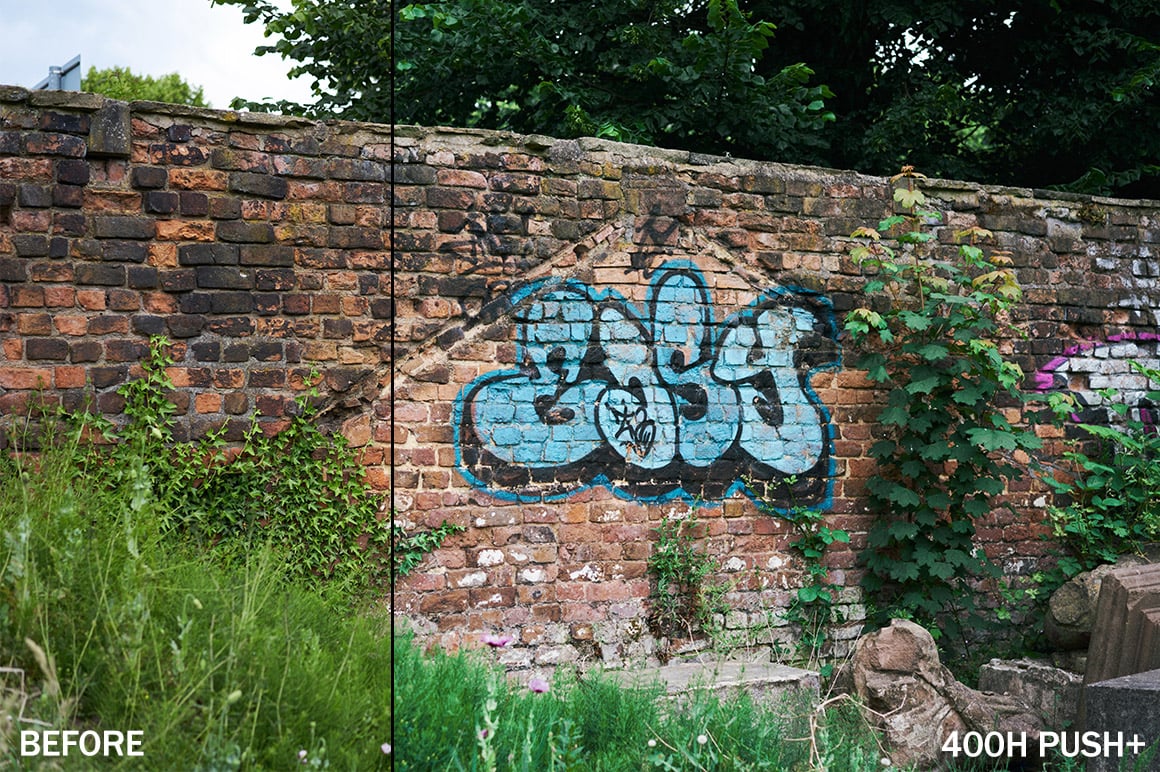
When underexposed in camera and then overexposed in processing, 400H takes on a stronger character. Contrast increases and the subtle shifts in colour become more pronounced. These are a little more stylised looking, especially in the stronger variants. For my specific take on the pushed ‘pastel’ look popular with wedding photographers, have a look at the 4. Pushed Pastel variants too.
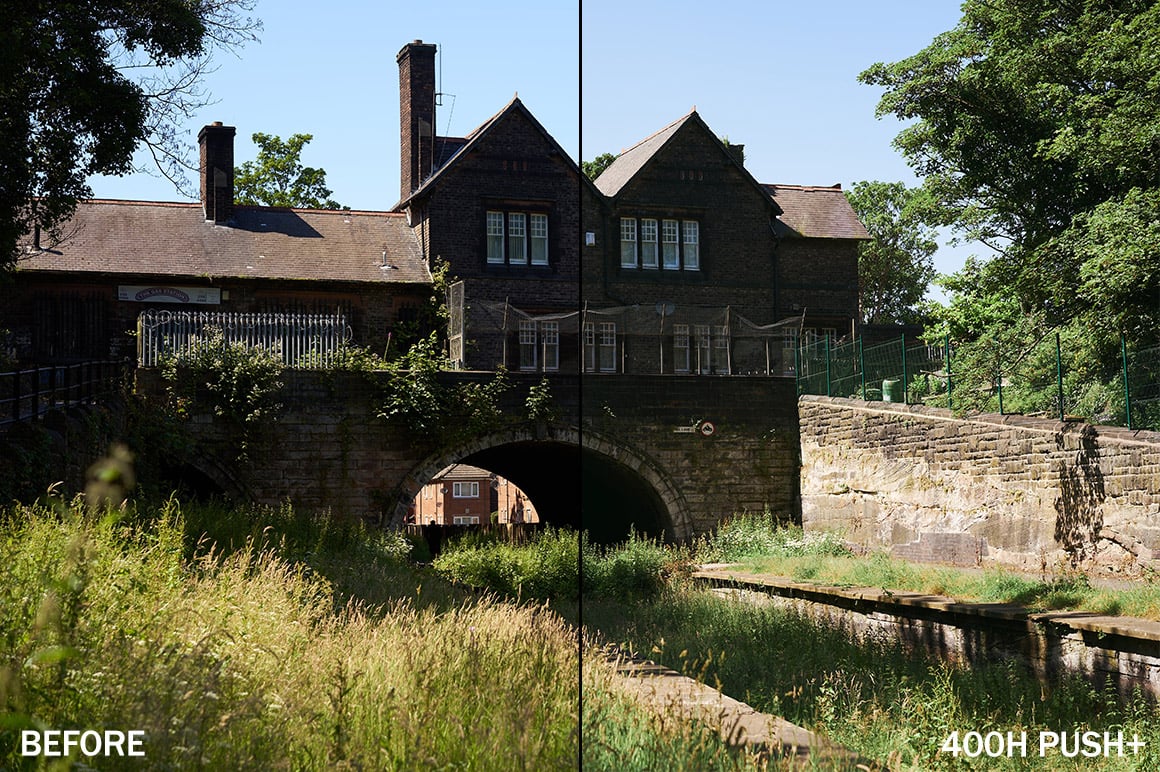
2A. 400H PUSH Paler skintones, an overall cooler cast, and healthy contrast
2B. 400H PUSH + Lower contrast than 2A but a touch more faded
2C. 400H PUSH ++ Warm faded shadows, like expired film
2D. 400H PUSH +++ Heavy fade with cooler shadows, like badly scanned faded film
2E. 400H PUSH – More natural colours and moderate contrast
3. 400H PULLED
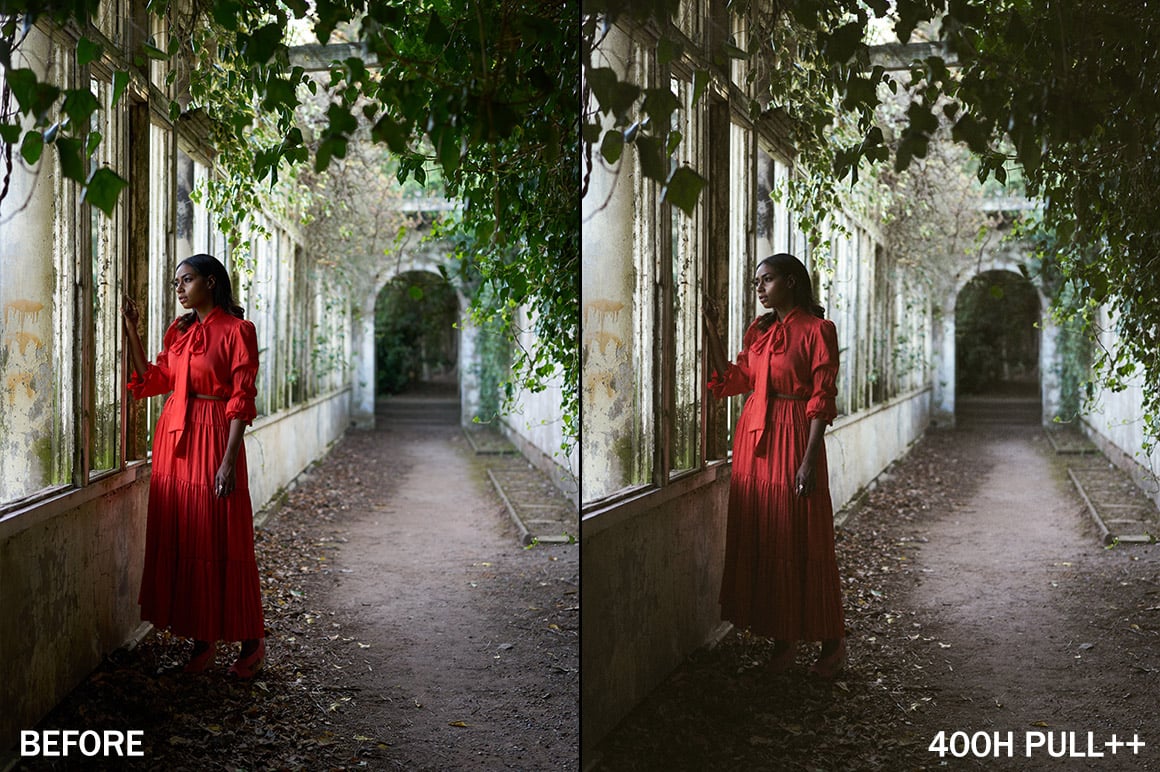
These are a hybrid, covering both pulled (downrated) and underexposed film since these share some similarities. Colours tend to be warmer, with softer contrast and a more subdued look. Stronger variants are reminiscent of underexposed film lifted in post, with heavy grain and low dynamic range.
3A. 400H PULL Paler skintones, an overall cooler cast, and healthy contrast
3B. 400H PULL + Lower contrast than 2A but a touch more faded
3C. 400H PULL ++Warm faded shadows, like expired film
3D. 400H PULL +++Heavy fade with cooler shadows, like badly scanned faded film
3E. 400H PULL – More natural colours and moderate contrast
4. 400H PUSHED PASTEL
A very popular trend amongst wedding photographers is shooting Pro 400H, usually medium format, uprated 1 or 2 stops and then scanned/processed to give a matte, pastel look without excessive contrast and muted, soft colours. This set of presets caters specifically to those seeking that look, if the regular pushed presets aren’t strong enough. I recommend adding them as a layer and then blending the opacity to get the strength of the look you want. The + and ++ variants are stylised and faded much more than the real film, generally would be; more like colour grading.
4A. 400H PUSH PASTEL Muted skintones, greens heavily desaturated and shifted to cyan, blues
shifted towards cyan and with a subtle pink tone in the highlights
4B. 400H PUSH PASTEL + Lower contrast for a matte look, faded and with extra grain
4C. 400H PUSH PASTEL ++ Heavily faded and toned with cyan shadows and pink highlights
Additional information
| License | Personal, Commercial, Extended |
|---|
2 reviews for Digistock – Pro 400H for Capture One
Only logged in customers who have purchased this product may leave a review.
Comments
There are no comments yet.
You must be logged in to post a comment.






Tim Allgaier (verified owner) –
After I fell in love with other Pro 400h simulations (from Mastin labs for example) I thought, this would be a really good deal. Especially for having a broader variety of styles at hand to use. But it’s not. Actually its the “weakest” Pro 400H simulation in my entire collection. For 13$ it’s kind of not a fail – but I will not buy any other Filmstocks from the author in the future.
James Tan (verified owner) –
It is a highly valuable preset for Capture One Pro. Despite simulating the Fuji 400H, the author put in 18 simulation variations (original, push, pull, and pastel in different strengths) and provides a detailed PDF to explain all the styles and tools he includes in the package.
The styles are subtle and suitable for any lighting (harsh, soft, etc.) You likely need to adjust the Exposure and High Dynamic Range sliders to achieve the desired contrast and pop effect. Each style is carefully tuned in the COP’s advanced color and curve tools. I discovered that the styles give portrait shots a more impressive look and feel when combined with the halation tool.
As a side note, the Mastin Lab’s Fuji simulation is more contrasty and vibrant in comparison. However, it works best when the RAW is soft (its 400H curve adds a lot of contrast, but it requires less manual adjusting if the RAW is in the targeted lighting situation)
Overall, this preset is versatile and renders pleasing colors (skin tones, lips, and greens). Although you will need to adjust a few sliders for the contrast manually, it is worth the try (& buy).